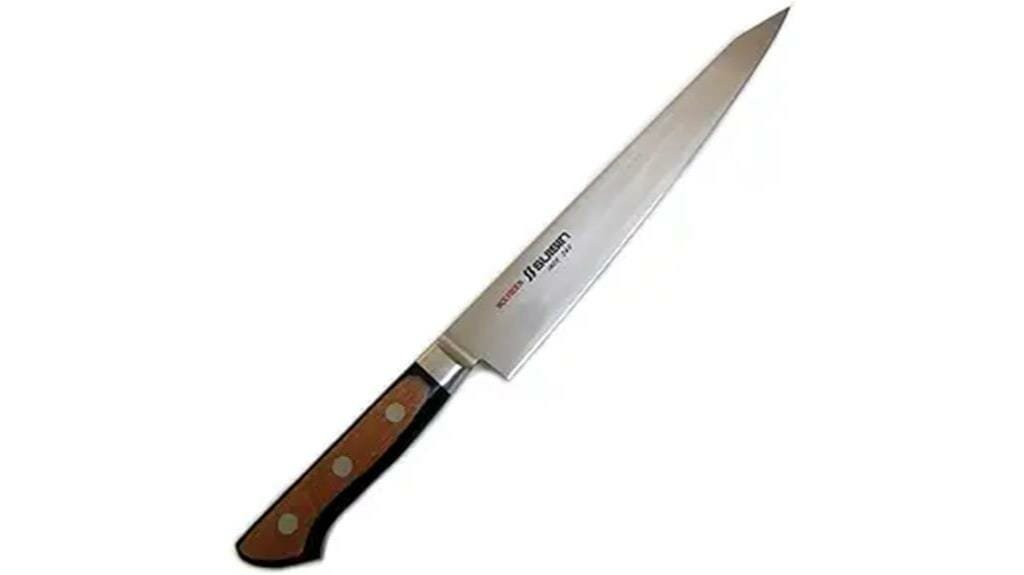
How to Sharpen Kitchen Knives: It’s every chef’s nightmare. You’re shuffling through the kitchen, dicing onions with ease, when you accidentally slice into your finger. The pain is immediate and intense, but you have a job to do.
There’s no time to go to the ER, so you wrap the wound in a clean kitchen towel, return to the cutting board and finish the prep. Afterward, you head for the sink and discover your injury is worse than you thought. The cut is deep, and you’ve sliced through a nerve. You’ll need a few stitches and a tetanus shot.
Ways to Sharpen a Knife
You may be wondering how to sharpen a knife with a stone, as it’s one of the ways you can do it yourself. You may have been tempted to take your knives to a professional knife sharpener or felt curious about an electric knife sharpener, or how to sharpen a knife with a rod, sometimes also called a steel. Manual sharpeners are easy to use and offer a lot of control and can be used at home, too. There are a handful of ways to accomplish this kitchen task, and you don’t necessarily need tools; in a pinch, you can sharpen a knife without a sharpener by using a mug. (Yes, a mug.)
There’s no one-size-fits-all solution to knife sharpening. Take into consideration how often you cook along with how comfortable you feel with these various methods, and that will help you determine the best way for you to keep your knives sharp. If you like to do things yourself, then sharpening at home with a whetstone may be your go-to; if you’d rather take an easy approach, a manual or electric sharpener is the way to go. But if you don’t feel comfortable with that approach and/or don’t want to learn how to sharpen a knife at home, you can hire a professional sharpener. It’s not typically an expensive proposition, but the cost could add up depending on how you use your knives.
How to Tell If Your Knife Is Sharp Enough?
When you sharpen knives, especially on coarser stones, you’ll notice a burr form on the opposite side of the edge. It can be difficult to see, but easy to feel. Carefully feel for the burr by running your finger from the spine of the knife to the edge.
The burr will jump from side to side as you sharpen each edge, and once you’ve felt the burr move to both sides, you can move to the next finer stone. Once you get to the finest grit, the burr will become smaller and smaller, until it disappears. When the burr is gone, you’ll know your knife is sharp enough.
How to Sharpen a Knife Yourself?
In my more militant days, I would swear that manual (i.e. “pull-through”) or electric sharpeners were to be avoided at all costs. “They’re bad for your knives,” I complained. “They grind away too much steel.”
Yes, that may be true. And if you use one to sharpen a $600 knife, you will lose your cutlery privileges for a period of not less than one year, and be forced to perform scut work in my kitchen. If you’re talking about a $12 knife, on the other hand, “who cares?” is, in fact, a reasonable attitude.
You can usually find used sharpeners at thrift stores and yard sales, and especially in your parents’ cupboards. If you want to pick up a new one, the Chef’s Choice 450 is a decent manual sharpener, as is the Chef’s Choice 110 in the electric category.
If you’re using one of these types of sharpeners, follow the manufacturer’s instructions, and most importantly, don’t blame me.
Let’s move on to whetstones. The nice thing about whetstones is that, unlike so many other kitchen gadgets, a whetstone will never stop working. Indeed, a whetstone is nothing but a flat piece of stone, and it will go on being a flat piece of stone for a very long time. As with the other types of sharpeners, if you’re going to experiment with a whetstone, it’s only sensible to start off with a knife you don’t particularly care about.
Get yourself a two-sided whetstone, with a coarse grit on one side and a fine grit on the other. Start off with the coarse side, giving the knife ten strokes on each side of the blade, keeping it at a 20-or-so degree angle. Then flip the stone over and give the knife the same treatment on the fine-grit side.
By the way, people sometimes hear the word whetstone and get the idea that it’s referring to a wet stone. Which is an easy mistake to make, and the fact that there’s a type of sharpening stone called a waterstone only adds to the confusion.
But waterstones are a different beast. They need to be soaked before using and require a steady stream of water to be dribbled onto them during sharpening. Ordinary whetstones work best dry. In fact, the tiny particles of steel that the stone grinds off can become suspended in the liquid and actually damage the blade. This is true of water and especially oil, which is another substance people often misguidedly apply to their whetstones, presumably with the goal of lubricating it.
How to Sharpen a Serrated Knife?
The serrated knife doesn’t need sharpening as often as your chef’s knife or your paring knife, say, but it still needs some attention. The process is different because the shape of the blade is different; the serrated knife has a series of curved serrations, and one side is flat, whereas the other side is beveled. You only sharpen the beveled side, and the best way to do that is with a sharpening rod, which is similar to a honing steel, but it’s smaller, more narrow, and pointed. You use the rod flush with the bevel to get the right angle and simply drag the rod away from the serrations.
How to Sharpen a Knife with a Stone?
Once you’ve found the correct angle for your knife, you can begin sharpening. Whether you purchase a sharpening stone made of Novaculite, aluminum oxide, or silicon carbide (known as Arkansas, India, and Crystolon stones), you’ll follow a similar sharpening process. Make sure you check your manufacturer’s instructions for any nuances.
Here are the steps you need to follow to sharpen your kitchen knives.
- Put your sharpening stone on a moist towel atop a flat surface.
- Begin with the coarse side of the stone on top, as this is the quickest way to form the knife blade back into the correct shape.
- Lubricate the stone according to the manufacturer’s recommendations. Some options like diamond stones don’t need any lubricant at all, so be sure to check the stone’s instructions.
- With your knife at a 22.5-degree angle, slowly draw the knife down and across the stone in a smooth motion, starting at the heel and finishing at the tip.
- Repeat this action five times. You may need to repeat this motion additional times, depending on the dullness of the knife.
- Flip the knife to the other side and sharpen the reverse side using the same motion. You should sharpen this side the same number of times as the other side for consistency.
- Return the knife to the original side, but this time draw the knife from the tip to the heel. Repeat this motion five times.
- Flip to the reverse side and sharpen from tip to heel five times.
- Turn your sharpening stone over to the fine side and repeat steps 1-5.
How to Sharpen a Knife With a Whetstone?
One of the ways to sharpen a knife is with a whetstone. Using a whetstone may take a bit of practice, but once you get the hang of it, you’ll be able to keep knives razor-sharp while saving time and money. One important note: “Whet” doesn’t mean “wet”—it means sharpen, although some whetstones require soaking. Check your manufacturer’s instructions.
To begin, get a two-sided whetstone, with a coarse grit on one side and a fine grit on the other. Different knives require the edge of the knife to be applied to the stone at a different angle, depending on the manufacturing specifications. In general, it’s somewhere around 22 degrees.
To visualize this, picture 90 degrees, which is straight up and down. Then imagine half of that, which is 45 degrees. And then another half of that is 22 1/2 degrees. (Don’t worry about the half degree.) Consult the technical info that came with your knife or check with the manufacturer to verify the correct angle you should be using.
- Place the whetstone on a cutting board or countertop with the coarse grit face up. Place a wet paper towel or kitchen towel underneath the stone to help keep it from sliding.
- With one hand, grasp the knife by the handle and hold the edge of the knife against the stone, point-first, with the cutting edge meeting the stone at around a 22-degree angle. You can stabilize the blade with your other hand.
- With moderate pressure, slide the blade forward and across the whetstone, covering the entire length of the blade and keeping the blade flush against the stone at a constant 22-degree angle.
- Do this 10 times, then flip the knife over and give the other side of the blade 10 strokes on the whetstone.
- Flip the whetstone over to the fine grit side and give each side of the blade 10 strokes.
- Finish by using a sharpening steel to hone the blade, then rinse and wipe the blade dry to remove any metal particles.
Four Tips:
- Always sharpen in the same direction, whether it’s front to back or back to front.
- Don’t believe the hype about knives that supposedly “never need sharpening.” Cutting produces friction, and friction causes a knife’s edge to lose its sharpness. There’s no avoiding the laws of physics.
- Don’t attempt to sharpen ceramic knives; they are brittle and prone to breaking.
- Take care of your knife so it retains its edge longer. Store your knife so it is not resting on its edge, and protect the edge with a blade protector if you keep it in a drawer. Hand-wash the knife immediately after each use and only store it when it is dry.